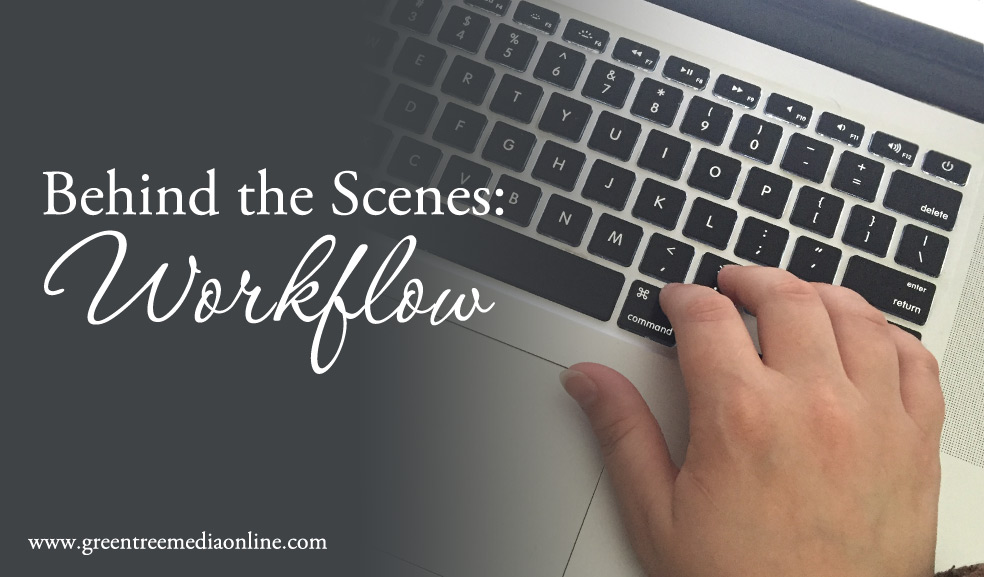
Behind the Scenes: Workflow
So when I was recently talking at the 8th Grade Career Fair one of the things we’re supposed to talk to the kids about is what a typical day looks like. And the thing is – I don’t really have a “typical” day. All my days are very different. Some days I edit all day. Some days I get to meet with clients, shoot sessions, and deliver orders. Some days I answer emails, do paperwork and write my blogs. So all my days are different. But where there is definitely structure is in my workflow.
Workflow is basically the steps in a process from start to finish. So my workflow begins with the first time you contact me to the day I deliver you your products. Today I thought I’d run through that work flow withyou to show you a peek behind the scenes into all the steps I take to make sure my clients receive the best care and products possible! You might actually be surprised to see how many steps there actually are.
• First Phone Call/Email
Obviously the first thing that happens is someone calls or emails me about photography. We usually chat a little bit and then I ask them about scheduling a complimentary consultation to get to know them and plan their session. If they’re interested – we schedule a time to meet.
• Complimentary Pre-Session Consultation
I love pre-session consultations! They are the perfect opportunity for me to get to know a client better and really sit and chat about what their hopes are for their session as far as experience and products. I would say most of my consultations are around 30- 60 minutes long depending on how much time we get to spend chatting 🙂
• Sign Contract & Schedule Session
If the client is feeling comfortable and confident in my ability to meet their needs – we go ahead and sign a contract and schedule their session. I would estimate that 97% of the time clients go ahead and book their session that same day. Occasionally, they will go home and talk to the hubby before making their decision. Only maybe once or twice a year do I have a consultation with a client who doesn’t book a session. But that’s okay – I know I’m not the right fit for everyone.
• Pre-Session Prep
Between their consultation and session there is actually some prep that happens. And it’s a little different depending on the type of session. Sometimes it’s as simple as emailing back and forth with the client to confirm their session, ask questions or answer questions. Some sessions have additional information that needs to be provided before their session. And some have homework for me and the client so it just depends on what we’re doing.
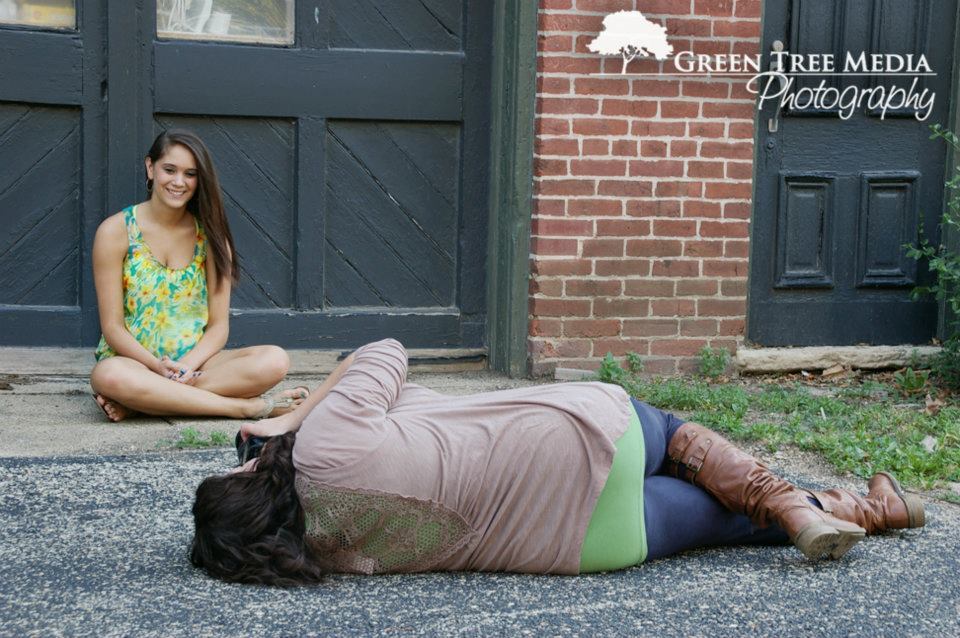
• Session
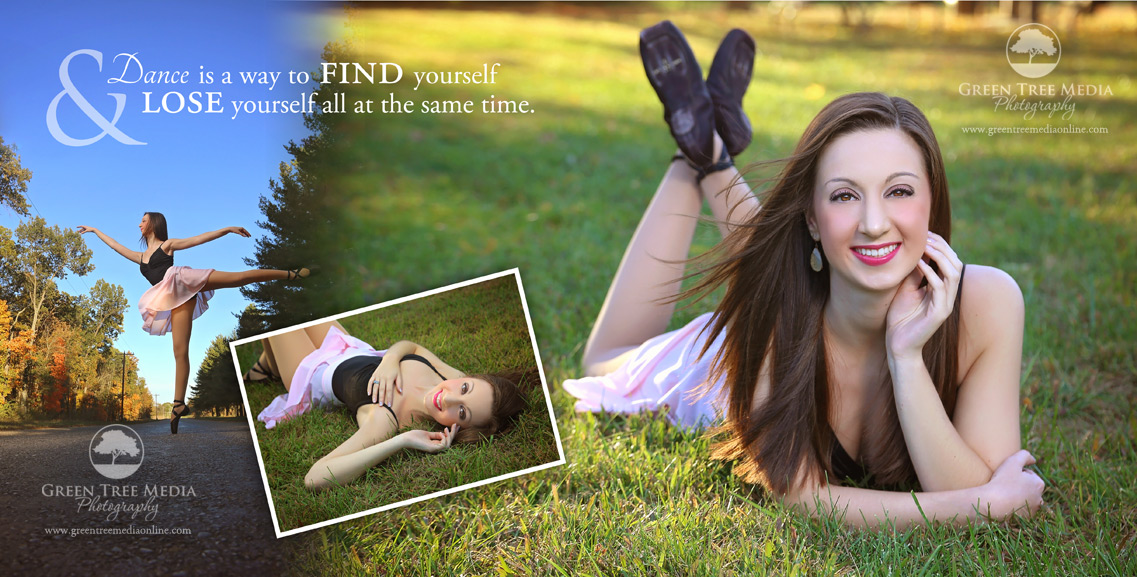
Then the session arrives! The evening before the session, I prep all my gear. Memory cards get cleared. Batteries on cameras and flashes get charged. Extra batteries get charged. Bags get prepped and gear gets stacked by the door. Many of my sessions happen in Decatur, which means a 45 minute drive into town to our location and I try to get there a little early. Sessions range from 20 minutes to 2.5 hours long depending on the type of session we’re shooting. But it’s always a fun day!
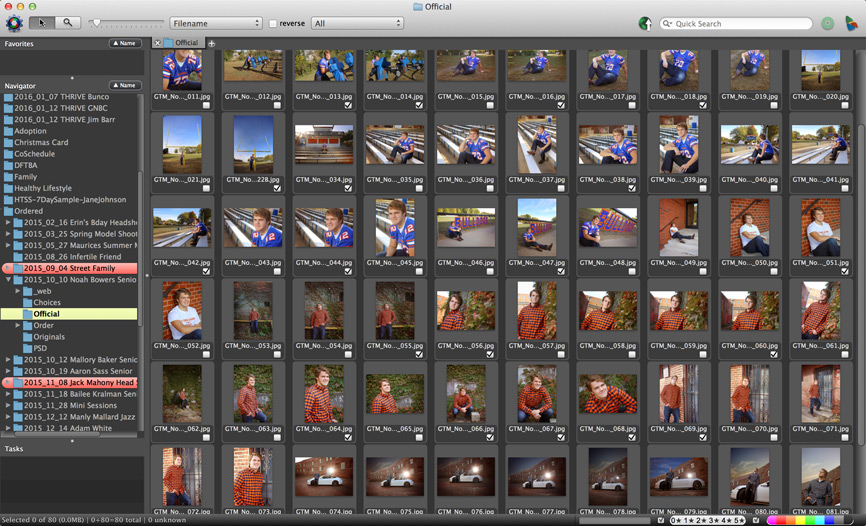
• Cull Images
After the session, I drive back home and immediately pull all the files off my cards and onto my computer. I then go through and narrow the images down to my favorites. (This is what we call culling.) There could be anywhere from 20-100 images depending on the type of session the client chose. Obviously the more time we spend together the more images we’re going to have. Once I’ve made my selection I move those images into their own folder to be edited.
• Choose One Sneak Peek to Edit & Share
After narrowing the images down – I then go through and select just one image as a sneak peek for Instagram. (This is usually the hardest part because I have such a hard time only choosing one!) I quickly edit the image and upload it to Instagram that night.
• Edit the Rest
From there I have time to edit the rest. Again depending on the number of images – this could take an hour or two or it could take several days. (When I used to do weddings it took me at least seven days to finish edits for a wedding.) As I edit, each retouched image gets saved into a new folder for just the finished files.
• Back Up All Files
When all the images are fully edited, I back everything up to keep it safe until the client’s viewing session. I currently back up all my files to an online storage site as well as on external hard drives here at my home studio.
• Create Video
Once backed up, I start working on their video. The first thing my client sees when they come in for their View & Order session is their portraits set to music in a fun slideshow. It’s such a fun and special way to see your images for the first time and my clients love this little personal touch!
• Schedule View & Order Session
Once I’ve got everything prepped and ready, I contact the client to schedule their View & Order session. Sometimes we get them in very quickly, sometimes it’s longer. Usually at this point it depends a lot on the clients’ schedule and when they get back to me. Of course, I love to get them in right away so they’re not waiting 😉
• Prep for View & Order Session
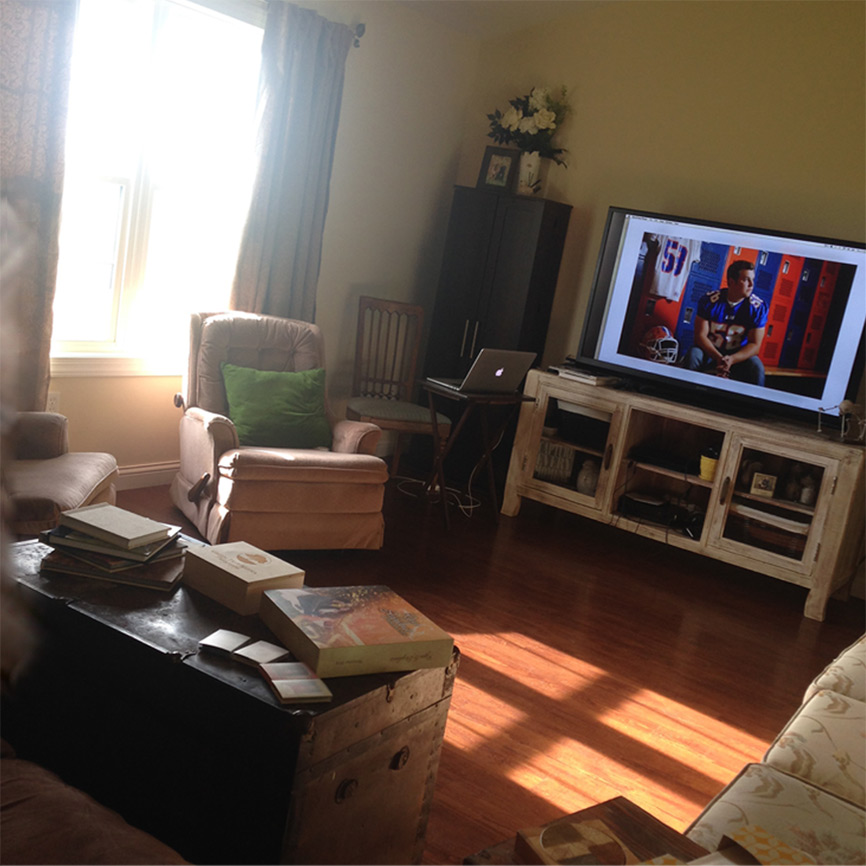
The day of their View & Order session I clean my home studio… pick up, dust and wash the floors. I make sure I have the sample products they might be interested in sitting out so they’re handy and ready for them to touch and see and feel. I connect my laptop to my big screen TV that is calibrated to match my computer so that my clients can see exactly what their images will look like on a nice beautiful screen. And then right before they are scheduled to arrive I make sure I have some fresh baked chocolate chip cookies ready for them. (My favorite!)
• View & Order Session
I love View & Order sessions for a few reasons. One – I love seeing my clients again. Two – I love that we get to share in this moment of seeing your portraits for the first time together. And three – I love being able to help my clients with their ordering process to make it as stress-free as possible. That’s basically what we’re doing here. We’re celebrating your loved ones together in these portraits and I’m helping you build your own collection. Our average ordering session is about an hour to an hour and a half long.
• Write Blog Post
After the clients have chosen their portrait products and we’ve said our goodbyes (for now), I sit back down and start working on their blog post. If you’re here at the journal (what I call my blog) you’ll know that I write about every session I photograph and share it here. Sometimes I have the actual content for their blog post written ahead of time… like right after their session when it’s still fresh in my mind. But sometimes I write it immediately after their View & Order session. My goal is always to get these portraits online first thing the next day so they can share their excitement with friends and family.
• Prepare Files for Web
Then I go through and prepare the client’s favorite images for their blog post and facebook. These are the ones they ordered and lingered on the longest. I do two different web preparations. A collage creation for the blog and then individual file prep for facebook. I add my logo to each image. I save the facebook files into their own folder and the collages for the blog get added to the blog post and scheduled to go up in the morning… first thing at 9 am.
• Prepare Files for Print
After the online features are ready, I move on to products. I use a professional lab for all my product creations. So I have to prepare the files before I send them off to them. I usually wait 24 hours to send prints to the lab… just in case the client has a last minute change. It’s a rare occurrence, but I like to err on the side of safety. To prepare these, I resize, add my logo, and if necessary do a little bit of sharpening to get that nice crisp finished print my clients love.
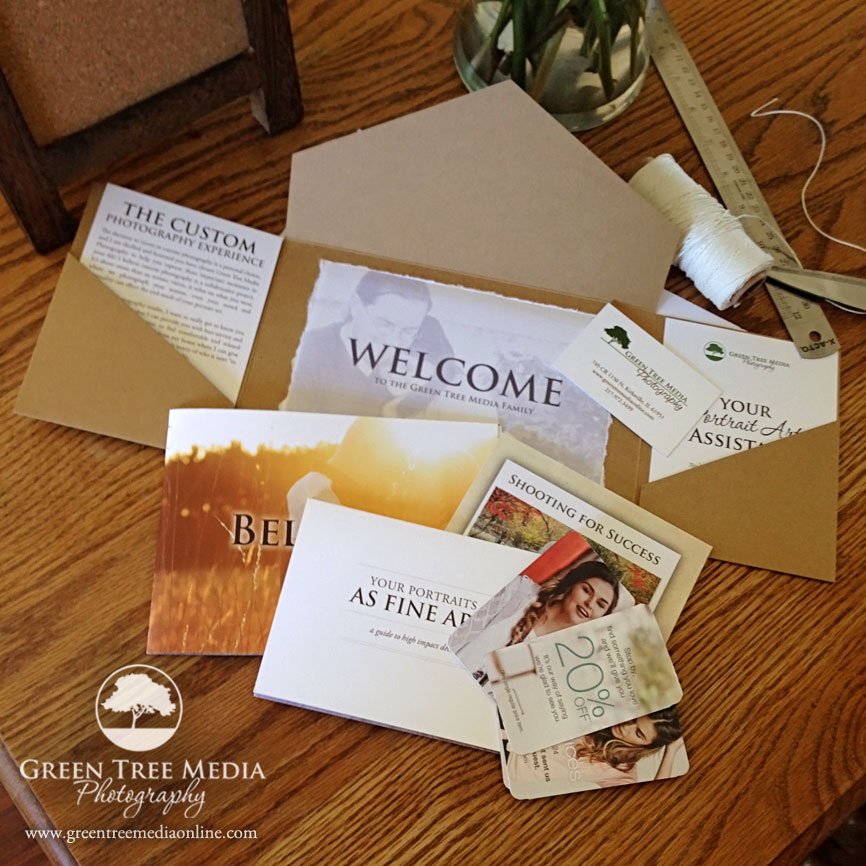
• Design Album/Collages/Cards/etc (Optional)
I would say probably 85-90% of my clients order more than just prints. Many order our signature albums or custom cards. Some order our cube decor or collages or brag books. All of these things require some degree of design before they can be sent to the lab. This can take a couple days to a week or so depending on the number of designed pieces I need to create and the number of revisions the client makes.
• Wait for Approval on Designed Products
After I send the designs to the client for approval I wait to see if they have revisions. Most of my fully designed products come with 3 revisions giving the client the opportunity to make alterations to the design. In the past year or so, it’s become increasingly more common that my clients have no revisions and give me approval to produce my original design right away – which is awesome!
• Send Everything to Lab (After Approval)
Once I’ve gotten approval on designed products I prep everything again for the lab. Just like before this means making sure everything is sized accordingly, adding my logo where necessary, and occasionally doing some minor sharpening to get those crisp finished pieces.
• Quality Check Products When They Arrive
It usually takes my lab a week or two (depending on the product) to get it finished and shipped to me. Once it arrives at our home studio, I unpackage it and inspect the products to make sure they meet my quality standards… no scratches, smudges, dings, creases, etc.
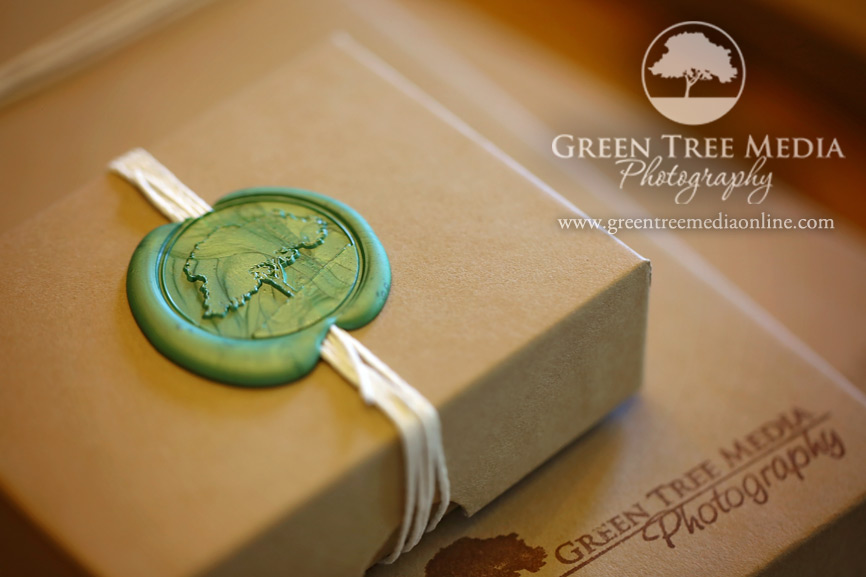
• Package Products
If all looks good (which it almost always does) I go through and package everything up so the products are safe and protected. Prints go in their own boxes, as do albums. I make sure prints are packaged in plastic sleeves to keep them protected. Just about everything gets wrapped in tissue paper. And then I bag it all up and make it look pretty 🙂
• Schedule Pick Up or Delivery
The last step in my process is to contact my client and schedule a time for either me to deliver their order to them or for them to come pick it up. I love being able to take these products to my clients and watching their excitement as they go through and view their different art pieces. It’s just so wonderful to see them so excited and happy!
So there you have it…. my 22 Step Workflow for every client. I hope this was a fun peek behind the scenes into my business. Really I hope that this helps you to see how much love I try to infuse into every portion of my process! My goal is to always take the best care of my clients I possible can and let them know how much I appreciate them choosing me to capture their special memories and moments!
 Previous post
The Gratitude Project Shop is Open
Previous post
The Gratitude Project Shop is Open
 Next post
Paintings for Sale
Next post
Paintings for Sale