Behind the Scenes: Retouching
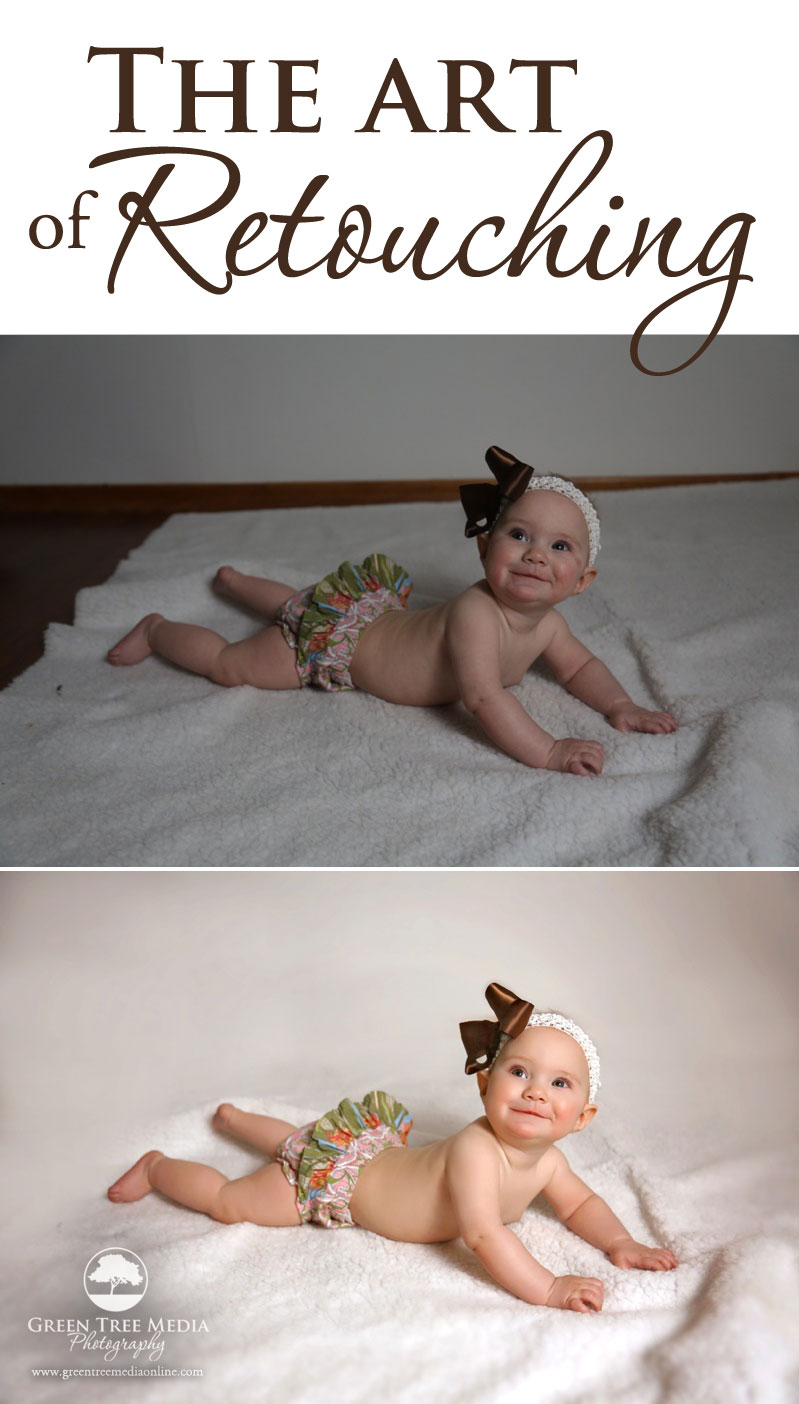
So today I thought I’d take a few minutes to show you a peek behind the scenes into what happens after your session. I love working with all my clients and I get to spend so much time getting to know you. We spend time at your pre-session consultation talking and really discussing how to show off who you are in your portraits. Then your session arrives and we have fun creating these awesome images. But that is only the beginning of the creative process for me…
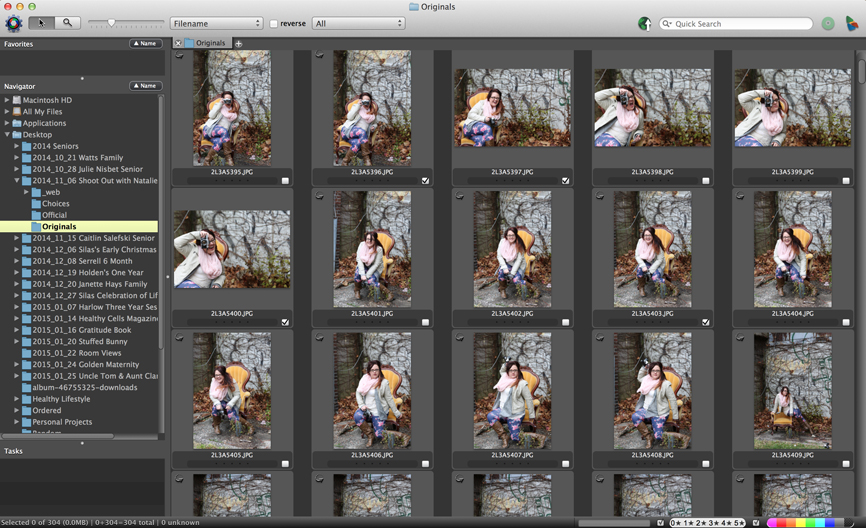
Once I leave your session I head home to my home studio. There I pull all your portraits off my camera and onto my computer. Then begins the process of narrowing down all these images to the very best photographs, which we call culling. Depending on the photographer and session length – this can take anywhere from thirty minutes to several hours. After the images are narrowed down – then begins the real creative work.
Sometimes it’s just a simple clean edit. Brighten it up, warm it up, and polish it out. Sometimes it’s a much more detailed process like swapping heads (when little ones don’t want to smile or look at the camera) or changing backgrounds or adding effects. All of these edits require time and attention to detail. Whether the end product is dramatically different or only moderately enhanced – this is the professionalism, expertise, and creativity that you are paying for when going to a professional photographer.
For myself personally, I want you to know what you’re getting when you place your order. And I want you to love what you see when you view your portraits for the first time. So I take the time to edit each image I show you. For our basic sessions this may only be 15 images but for our larger sessions it can be over 70 photographs per session. Going into each photo and making it look the best it can may be time consuming but it is so important to me. And it’s that extra bit of care you are paying for when you hire me as your photographer
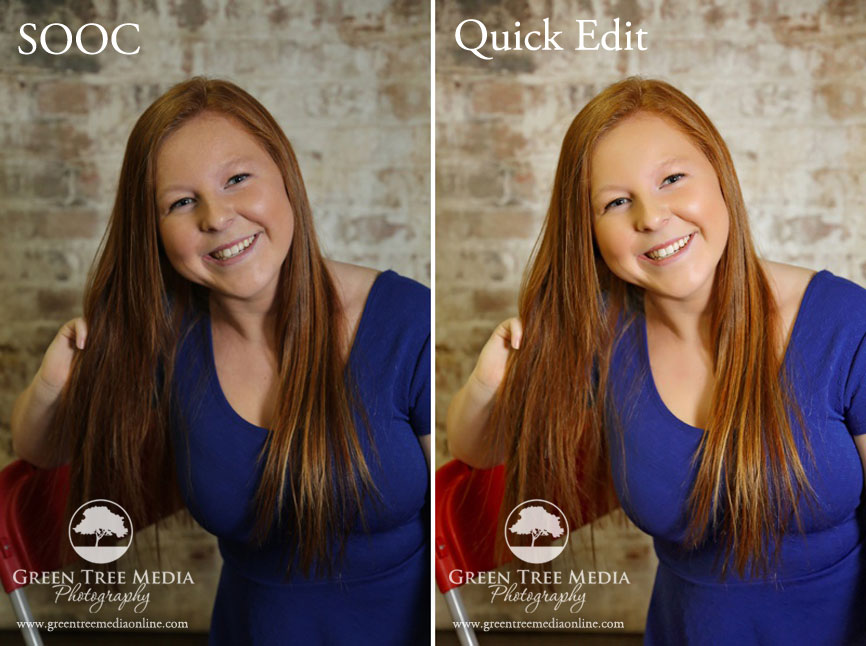
I do have a standard editing process – I like to keep them simple and clean and warm them up. So you’ll see that in every image below. I just thought it might be fun for you guys to see the time I put into every image I create for you. Because truly – you are that important to me. I want you to love yourselves and see your own beauty the way I do. Here’s just a little peek at some of my images straight out of camera and then edited.
This LSA senior really didn’t need much editing she’s already so gorgeous! This was a quick edit so it maybe took a minute or two. When editing someone who has acne (like I did in high school) this process can take a lot longer. So it really depends on each client how much time ends up being invested in these simple edits.
This was one of those situations where everything that could go wrong on my end did. My lighting set up at our Decatur location failed to work. (One of many reasons I’m encouraging all clients to do their indoor shoots at our Kirksville location.) And then my flash had some issues. However, I know my equipment and I know how to use what I have. I knew that even with the less than ideal lighting situation I could get some great shots. So for Serrell’s session I only slightly used my off camera flash, under exposed the images and then worked my magic in photoshop. You’ll notice in the below image I did my usual brighten and warm edit and then extended the backdrop to give it a nice all over warm white. Obviously this edit takes longer due to needing to blend the background and still try to create that seamless feel. But by retouching the image before the ordering appointment – I was able to show Kyle and Mackinzey what I envisioned in my head.

Sometimes getting three little ones to look at the camera at the same time and to all have the same expression is difficult. Especially since poor Mr. Holden had already endured an entire one year old session with me. (Can you tell by his expression in the top image that he is so over this photo thing. haha) So for the this image I knew I was probably going to be doing some head swapping. So below you’ll see again my usual brighten and warming edit. I also extended the backdrop on the left and swapped out Holden’s head so that his expression felt like it matched his cousins’.

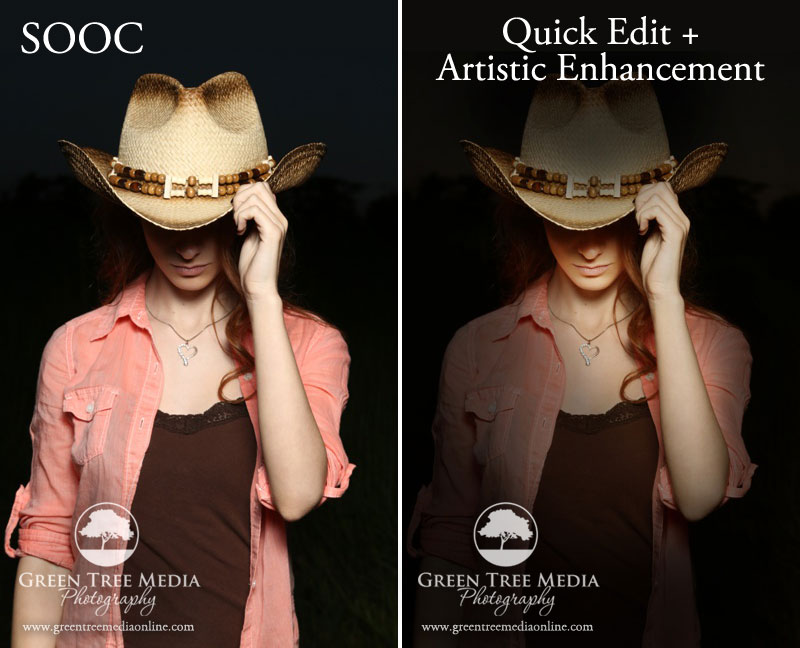
For the edit below you’ll notice a much more detailed edit. I did my normal brighten and warm. But then I went in and added shadows and light where I wanted it to be. I pulled some of the shadows off of Clair’s face and then added shadows to the top of her hat, her shoulders and her front. I wanted the focus to be on your hair, mouth, nose and necklace. So these adjustments helped to put the focus where I wanted it. This type of retouching takes a bit of time because it required detail work and precision to add the right amount of light and shadow the image without overpowering it.
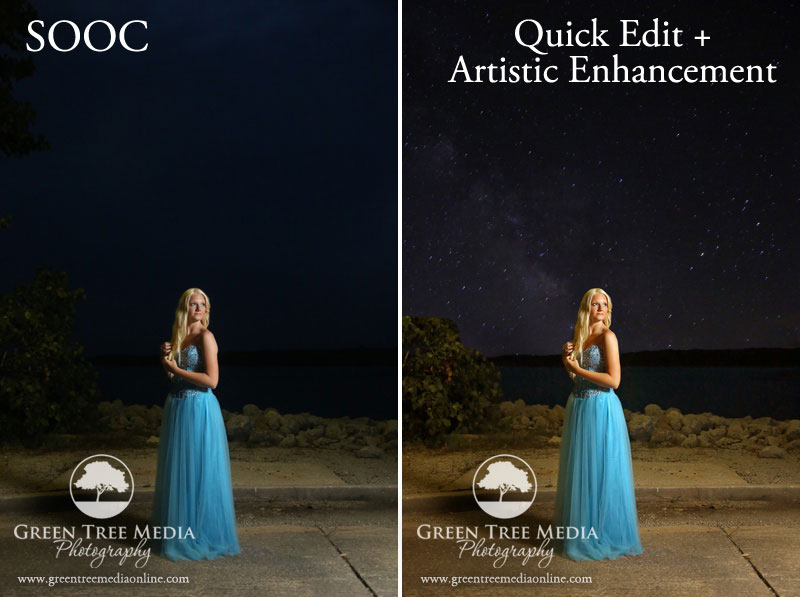
And the last little peek for today. This image has been a really popular one from my seniors. I did my normal quick edit retouching on this image to brighten and warm. Then you’ll notice I went in and added the starry sky. Now I have been taking night sky images for myself for a while so I happened to have this recent shot of the night sky to insert into the image, but if I didn’t I would have either had to create one or paid for one. Then the tedious work of dropping it into the picture. It’s hard to see here but I also added tiny blurred reflections of the stars to the water as well. This edit was quite time consuming to get the details just right, but it was worth it for the magical feel of this image.
I hope you guys found this interesting. I love what I do and I love creating these beautiful pieces from start to finish. There’s a reason I don’t hand retouching off to someone else and it’s because I know what I want your finished artwork to look like. And I want you to have a true art piece that was made by me. You truly are paying for more than just a simple piece of paper, you paying for the time, creativity and skills that went into creating that one of a kind piece!
 Previous post
Saint Teresa Winter Sports Photos | Decatur, IL

